German clinic demonstrates GYN intracavitary / interstitial brachytherapy workflow with Elekta Geneva applicator
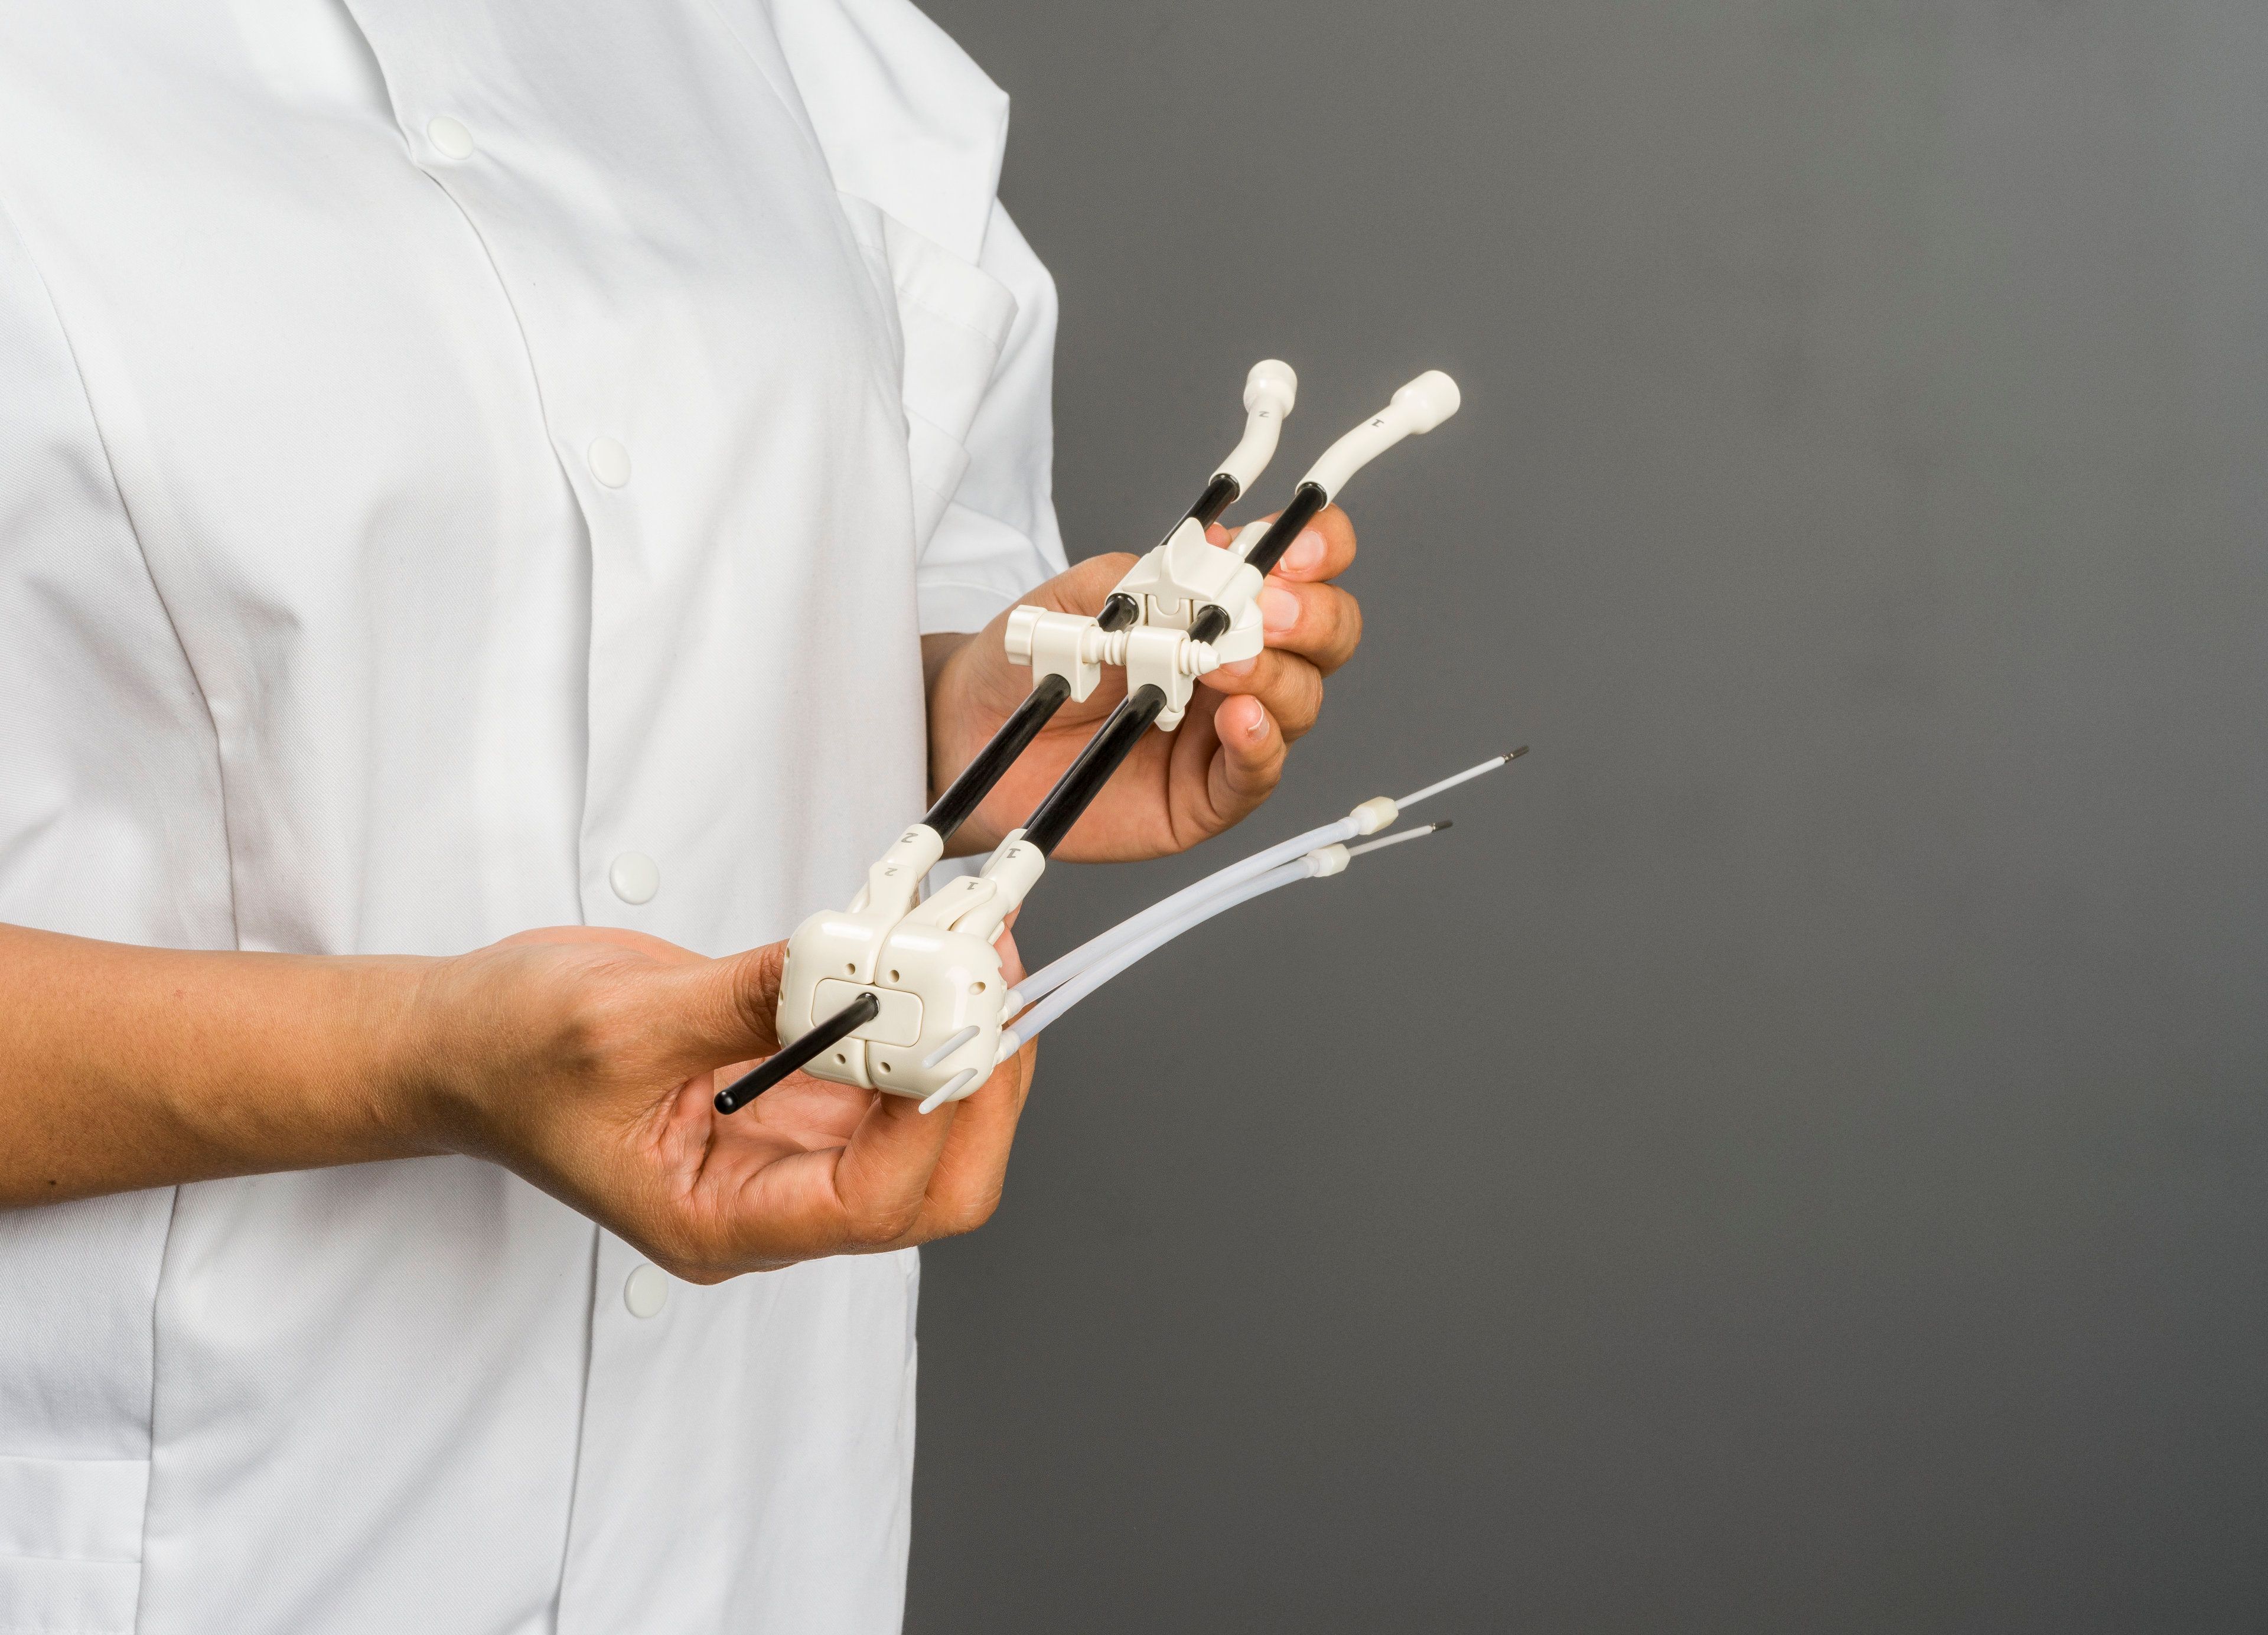
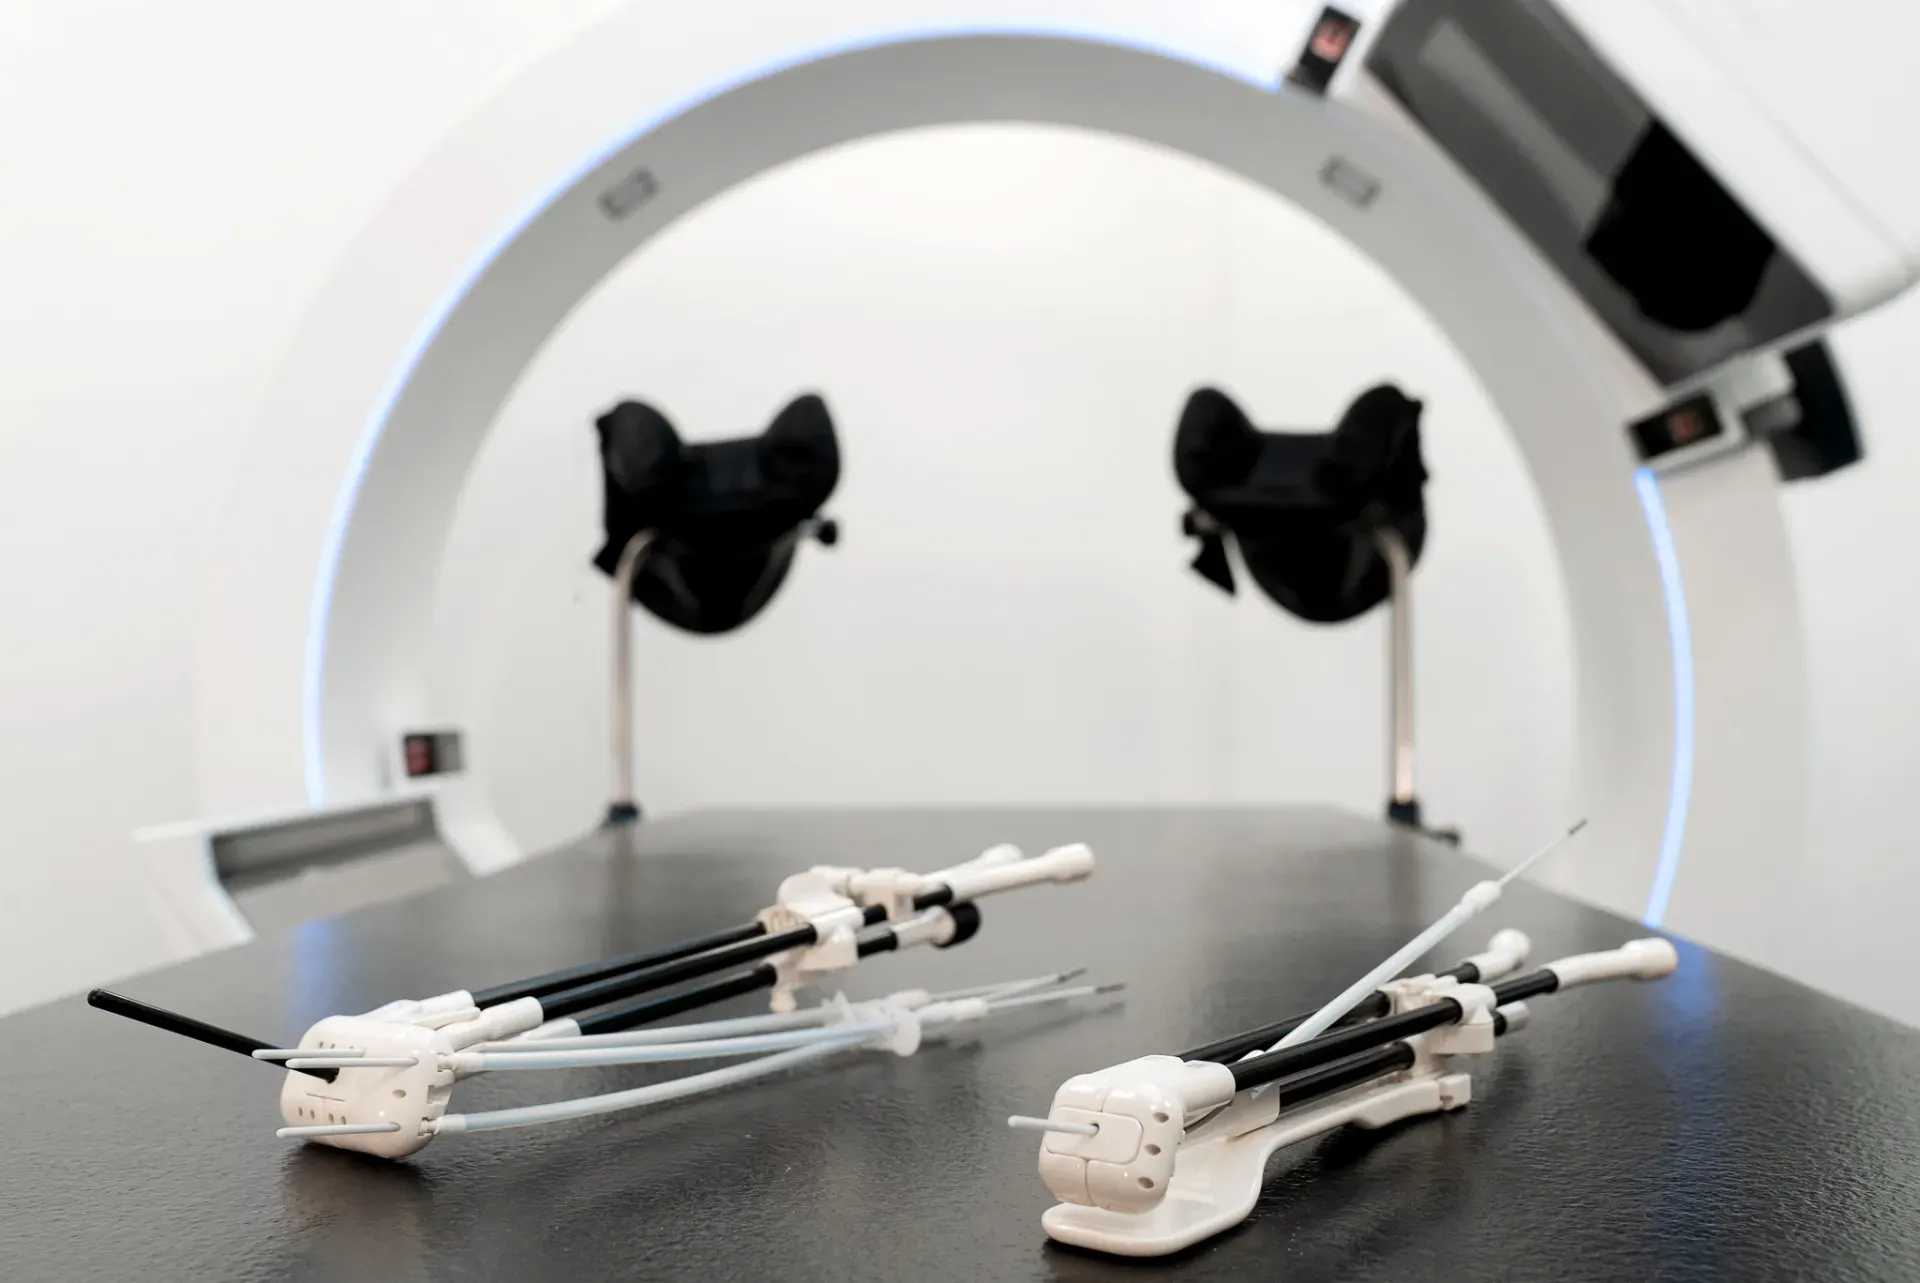
In a recent videotaped case report, members of Heidelberg University Hospital’s brachytherapy team described the workflow steps involved in intracavitary/interstitial brachytherapy for a patient with cervical cancer. The treatment was facilitated by Elekta’s Geneva Universal Gynecological Applicator, which is capable of treating a wide range of cervical cancer cases, assembles easily and provides exceptional coverage of uterine anatomy.
The case involved a 50-year-old woman with MRI-confirmed locally advanced cervical cancer (FIGO stage 2B), with invasion of the left and right parametria, vagina and posterior uterus. A subsequent EBRT/chemo course resulted in significant disease regression. However, because of the initial infiltration of the parametria and uterus, the Heidelberg team opted to treat the patient with combined intracavitary/interstitial brachytherapy.
Applicator insertion
In the operating room, following a detailed clinical examination – including speculum investigation and palpation of the tumor via the vagina – insertion of the Geneva applicator was performed under anesthesia. The uterine canal length was 5 cm, so the applicator’s 5 cm intrauterine tube was inserted and 20 mm ovoids were selected.

Next, radiation oncologist Nathalie Arians, MD, connected the ovoids to the ovoid tubes, then attached the guiding tubes. Due to parametrial invasion, four needles were placed on both sides of the most anterior and posterior positions of the ovoids. Round-tip ProGuide needles were inserted into the guiding tubes. The right ovoid tube was inserted and attached to the tandem using the clicking system, and the same was done for the left ovoid tube.
According to Dr. Arians a few Geneva applicator features are worth noting.
“With the Utrecht applicator you had to use screws to fix the ovoids, but with the Geneva applicator you just click them and that makes handling much easier.”
“With the Utrecht applicator you had to use screws to fix the ovoids, but with the Geneva applicator you just click them and that makes handling much easier,” she said. “Another Geneva applicator advantage is that you can use the small 13 mm diameter ovoids. In one case, for example, there was a fibrosis of the vaginal tissue, so that the vagina was quite narrow, and we couldn’t get a bigger ovoid up to the cervical os, so the smaller ovoid was necessary.
“With the Geneva applicator, we also have the interstitial tube, which is very helpful for patients with vaginal cuff recurrences,” Dr. Arians added.
Using interstitial needles, clinicians can modify the covered volume and dose distribution according to an individual patient’s anatomy. For small tumors, this means the physician can try to reduce the dose to OARs, and for larger tumors or more complex target volumes can expand the dose to cover the whole tumor, by the positioning of different needles. In this way, good target coverage is achieved.
Insertion of interstitial needles
A transrectal ultrasound was performed for the control of applicator positioning and insertion of needles; both the cervix and tandem were visible in the ultrasound image.

In the first step, Dr. Arians inserted needles a short distance into the parametrium, then she checked the ultrasound monitor to determine if the needles needed to be advanced further. The first needle was inserted far enough and the other needles had to be advanced deeper into the parametrium. Dr. Arians pushed needles with a guiding tube to ensure the right insertion depth throughout the procedure. Subsequently, the rectal retractor was inserted and attached to the Geneva applicator. Vaginal packing was performed to fix the applicator in place and achieve as much distance as possible to the mucosa.
Imaging
MR and CT scans were acquired. For MR, custom MR markers were inserted into the applicator channels and needle obturators were removed. For CT, x-ray markers were inserted into the needles. The markers indicated the pathway of the Ir-192 source inside the applicator/patient.
The MR/CT image fusion demonstrated good anatomy matching, with the markers in the Geneva applicator visible in both modalities. Applicator reconstruction started with MR/CT co-registration. Heidelberg medical physicist Gerald Major selected the correct Geneva applicator from the applicator library and reviewed the parameters of the chosen source for QA.
The intrauterine tube was reconstructed first, followed by the ovoid tubes. The next step was reconstructing the needles, a process that began with needle tip identification, after which more needle points were added using the dedicated CT markers.

Contouring OAR and target
Dr. Arians began contouring OARs with the bladder first, taking care to include the bladder wall and its contents into the contouring. She then contoured the rectum, sigmoid and small bowel. For the latter, Dr. Arians contoured the entire peritoneal cavity, because the position of the bowel loops is variable.
Next, she began contouring the target volume. The GTV should contain the residual disease which was observed in the axial and sagittal MR scan. In the axial MR image, Dr. Arians observed the left and right parametria. The HR-CTV includes the GTV, the complete cervix and the posterior part of the uterus due to the residual invasion.
Brachytherapy treatment planning
According to Major: “In our department the planning programs are very simple and effective and the physicians do the planning,” he said. “They have the idea where the tumor and OARs are and draw the isodose [lines]. They can optimize the plans by themselves and then our job in physics is to overview it at the end and provide suggestions.”
“In our department the planning programs are very simple and effective and the physicians do the planning.”
Dr. Arians started treatment planning with standard loading pattern and dwell times and checked the active dwell positions in the needles. The initial dose distribution showed that the irradiated volume was much too large and would deliver excess dose to the bladder and sigmoid. She used graphical optimization to adjust the isodose lines slice by slice.
The online evaluation of DVH parameters indicated which dose objectives were fulfilled and which needed to be modified. The left posterior needle was located close to the sigmoid, so some of the needle positions weren’t used. The hospital follows the dose objectives and constraints derived from GEC-ESTRO and EMBRACE recommendations. Some areas of the HR-CTV were not within the 100 percent isodose line because it was close to the sigmoid, but 90 percent of the HR-CTV received 7.8 Gy.

Major approved Dr. Arians’ final treatment plan, thus enabling treatment to start. In this case and others, brachytherapy involved four fractions of 7 Gy, each fraction taking about six minutes, depending on source activity and number of needles used. Applicator insertion was performed for each brachytherapy fraction.
“We have very few complications, such as perforations, we never have had infections or peritonitis – perhaps just some excess bleeding after needle removal, but nothing that required intervention,” Dr. Arians said.
As a radiation oncologist, she added that she never imagined she would end up doing brachytherapy but enjoys the combination of doing something practical with her hands.
“It’s always exciting at the end to see the result of the work you’ve done.”
“I get to see the patient, do the implantation and the planning and see the result of my application,” Dr. Arians observed. “No two patients are the same. It’s always different, even between applications in the same patient. It’s always exciting at the end to see the result of the work you’ve done.”
The video can be viewed at BrachyAcademy by registering free-of-charge or by logging in.
LARBX230331
